

In this section, we’ll explore options available for creating a MongoDB database and some of the benefits of using MongoDB Atlas to host your database in the cloud of your choice. Then you’ll deploy your own instance for free!
We’ve talked about DBMSs, the hardware that they run on, and distributed systems that enhance and ensure performance. Now we can talk about who is responsible for setting up and managing these systems. Broadly speaking there are two options: self-managed and fully-managed.
Self-managed systems rely on the administrator to set up and manage all of the hardware and software required, as well as security and backups. This option is manual but does provide full control over the system because nothing happens unless you do it. However, this can add significant work to the administration of the database.
Alternatively, fully-managed systems allow the vendor to handle operational tasks like upgrades and backups on your behalf. You still have the ability to configure settings but you don’t have to worry about every aspect of hosting your database. These options are convenient and very popular. One of the most popular categories of fully-managed systems is SaaS.
SaaS is a term that refers to software that is hosted centrally and you as a consumer/user of the software pay a subscription to use it. You don’t have to run it on your machines as the SaaS provider deals with the hosting, maintenance, and general running of the software. Google Docs is an example of a SaaS offering. You don’t need to install an application or save room on your device, you simply login and use the service while Google takes care of maintaining the hardware and software for you.
In the database space, software that is focused on the provisioning and management of databases is called DBaaS, or Database as a Service. MongoDB Atlas is a DBaaS offering available on all major cloud providers. This means that MongoDB takes care of the security updates and provisioning the hardware from the cloud service provider on your behalf, freeing you up to focus on other work.
Watch the video below to learn more about MongoDB Atlas and deploying a cluster. Don’t worry about following along as you’ll deploy your own cluster in the hands-on instructions that follow!

Now that you’ve seen how to do it, use the instructions below to deploy your own free MongoDB Atlas cluster!
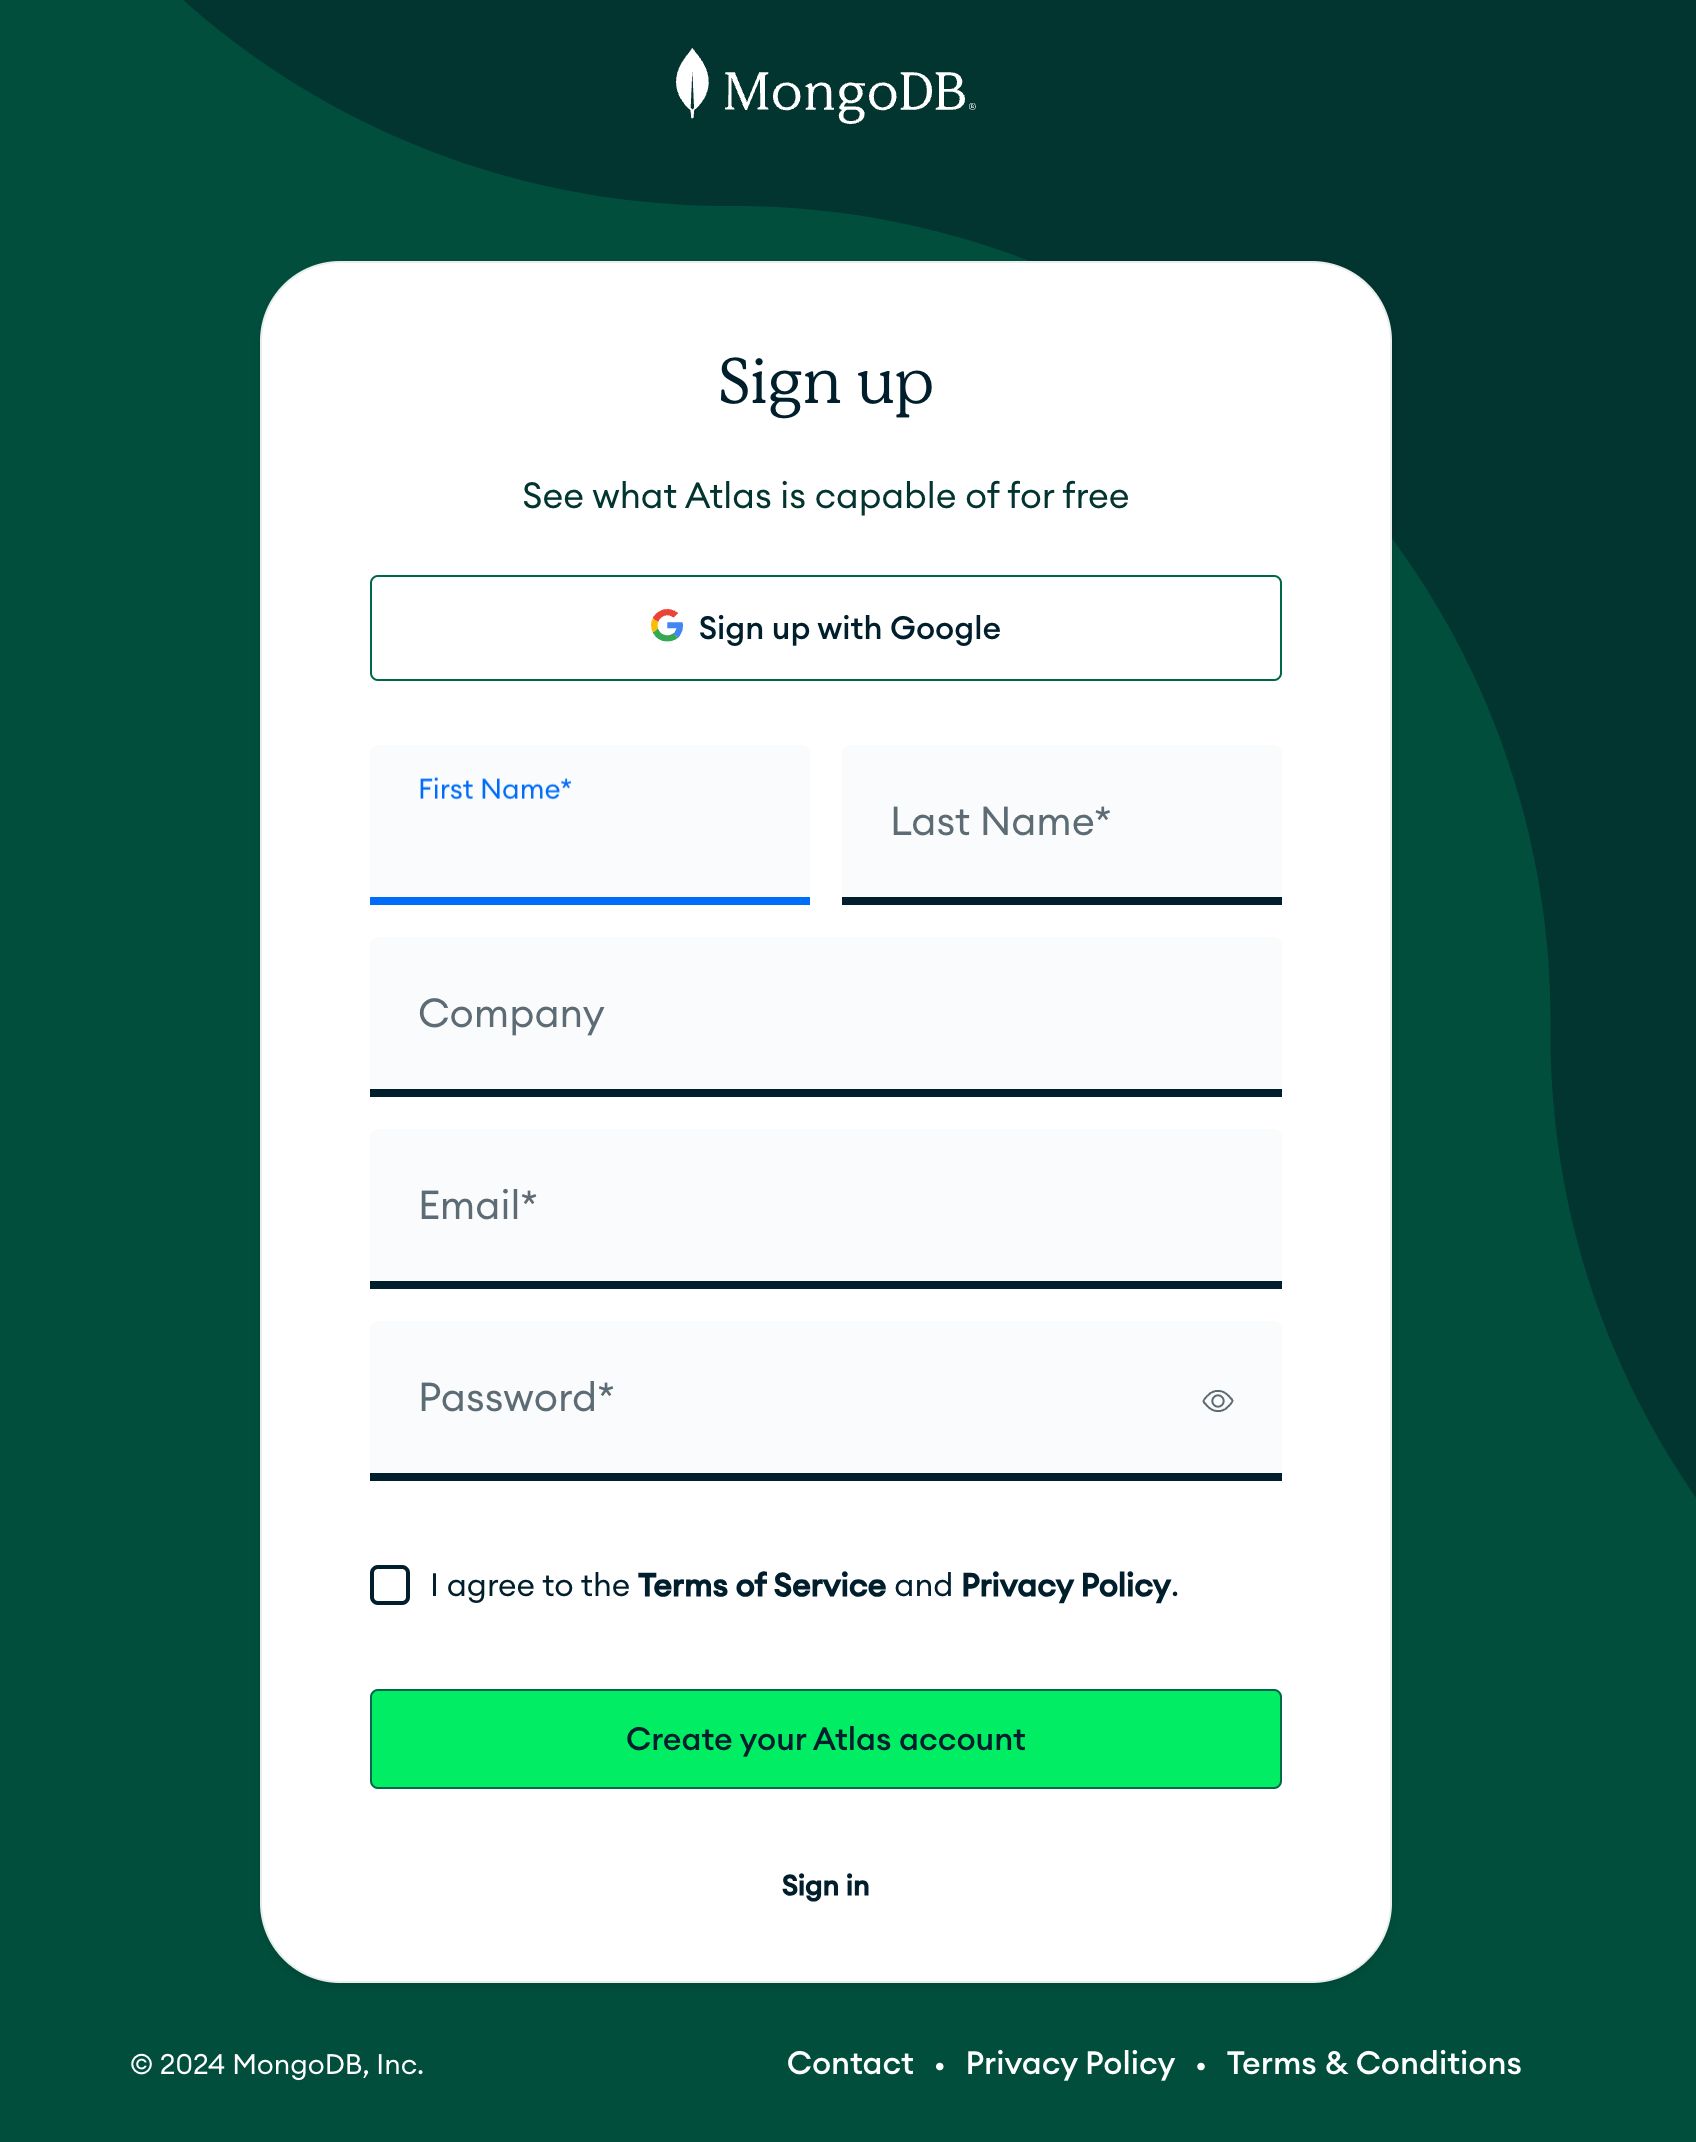
Complete the Atlas registration form and then select Create your Atlas account. If you already have a MongoDB University account, use those credentials to sign in to your account.
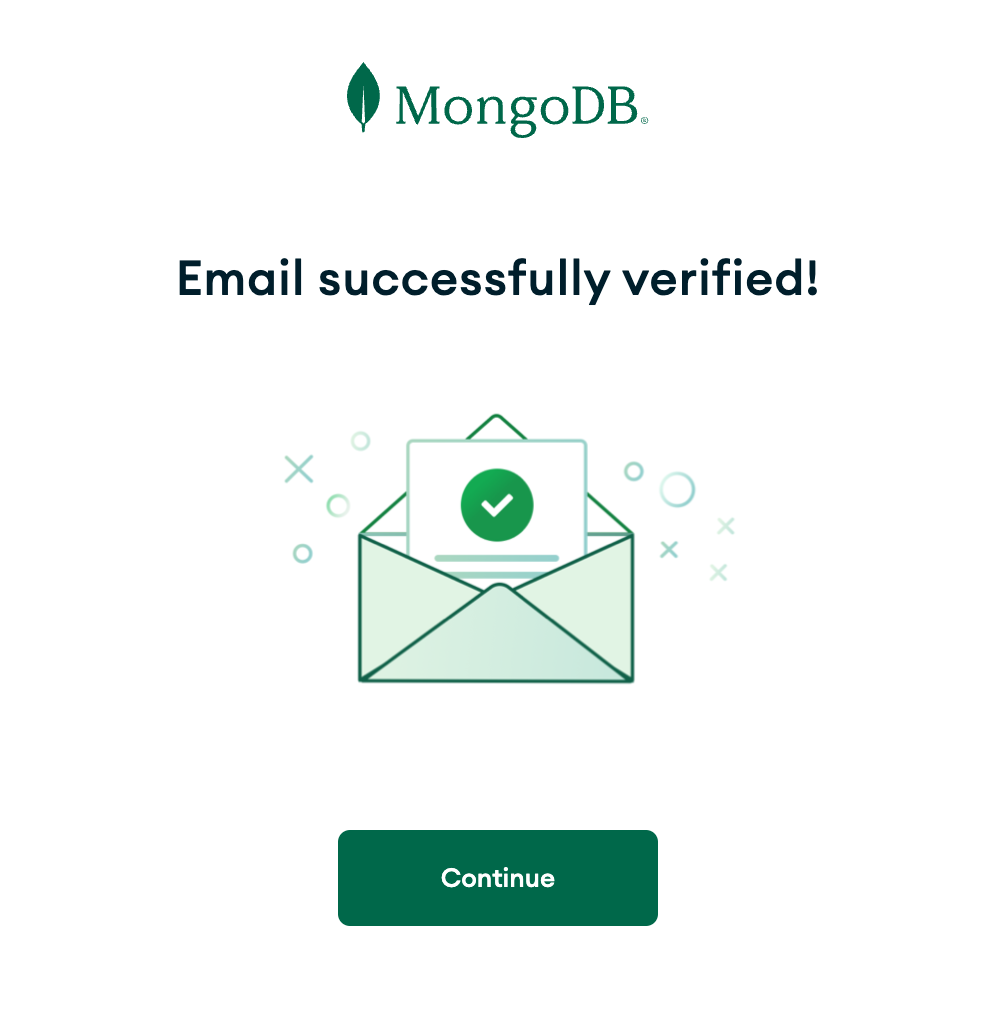
You will receive a verification email from MongoDB. In the email, select the provided link/button to verify your email address. A new browser tab or window will open with a confirmation that your email was successfully verified. Select Continue on that page.
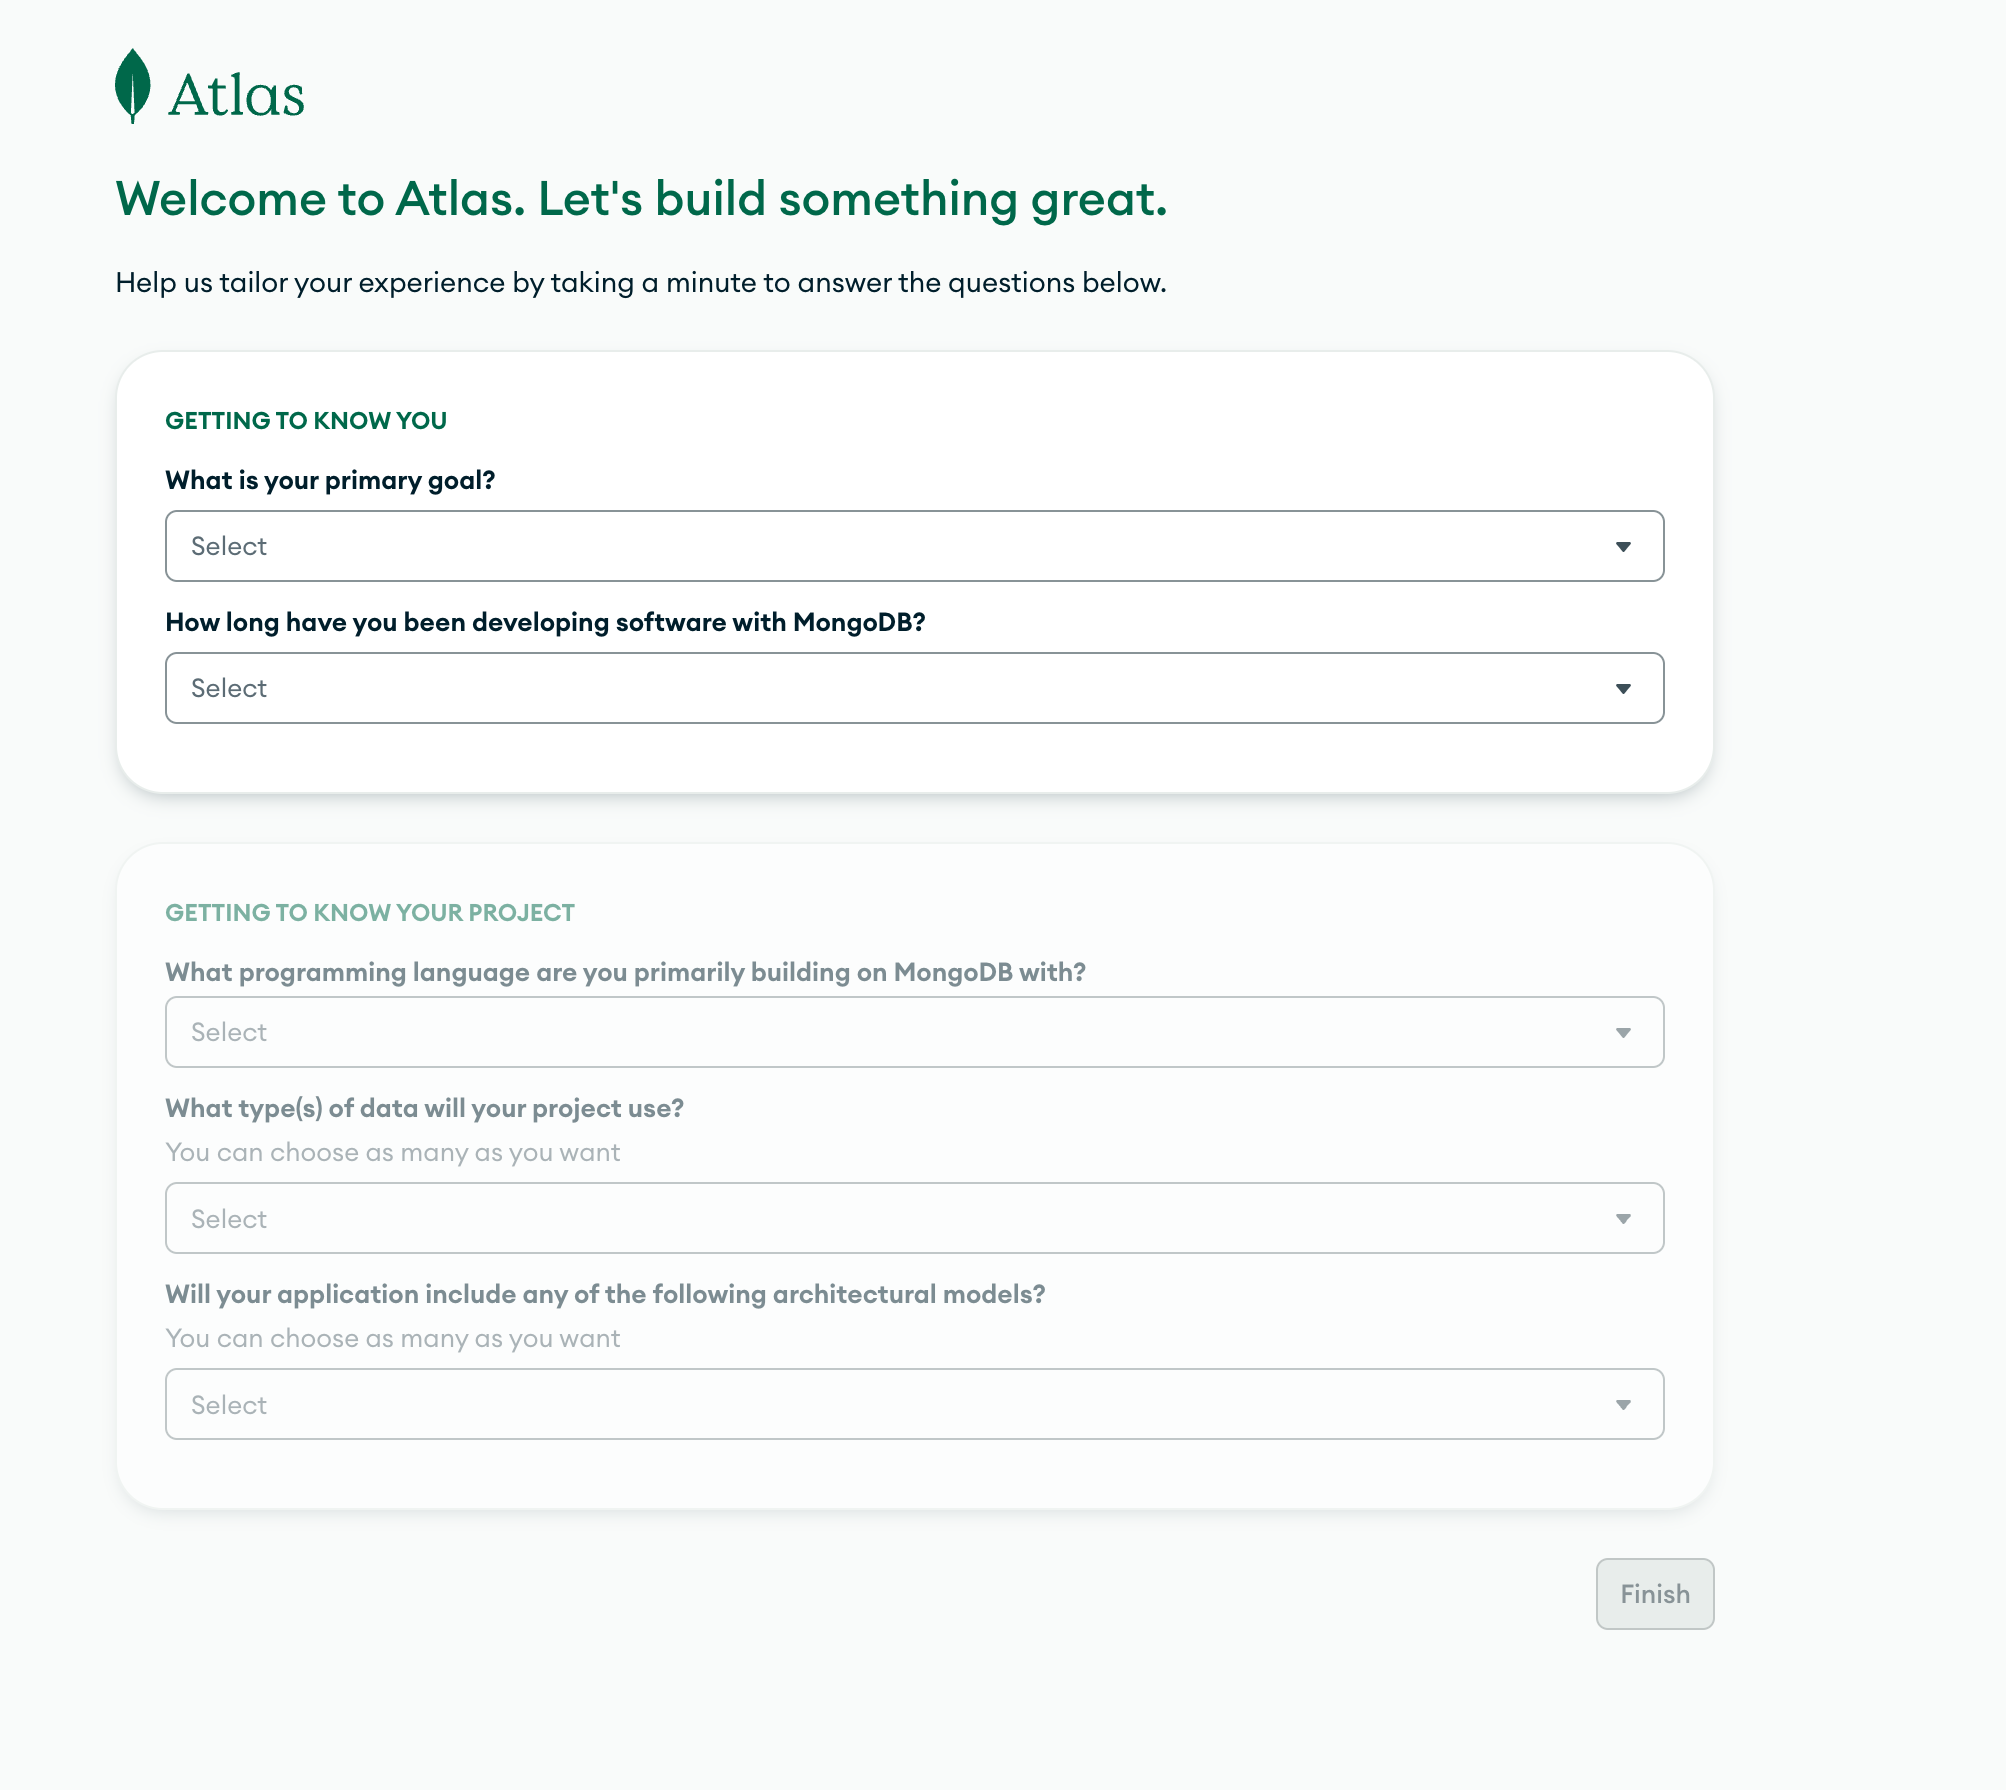
You will be directed to answer a few questions on a form similar to the following. You must fill out the form and then select Finish. Congratulations! You have now created your Atlas account.
You will be prompted to create your first cluster. At the top of the "Deploy your cluster" page, choose M0 (free tier) as the cluster tier.
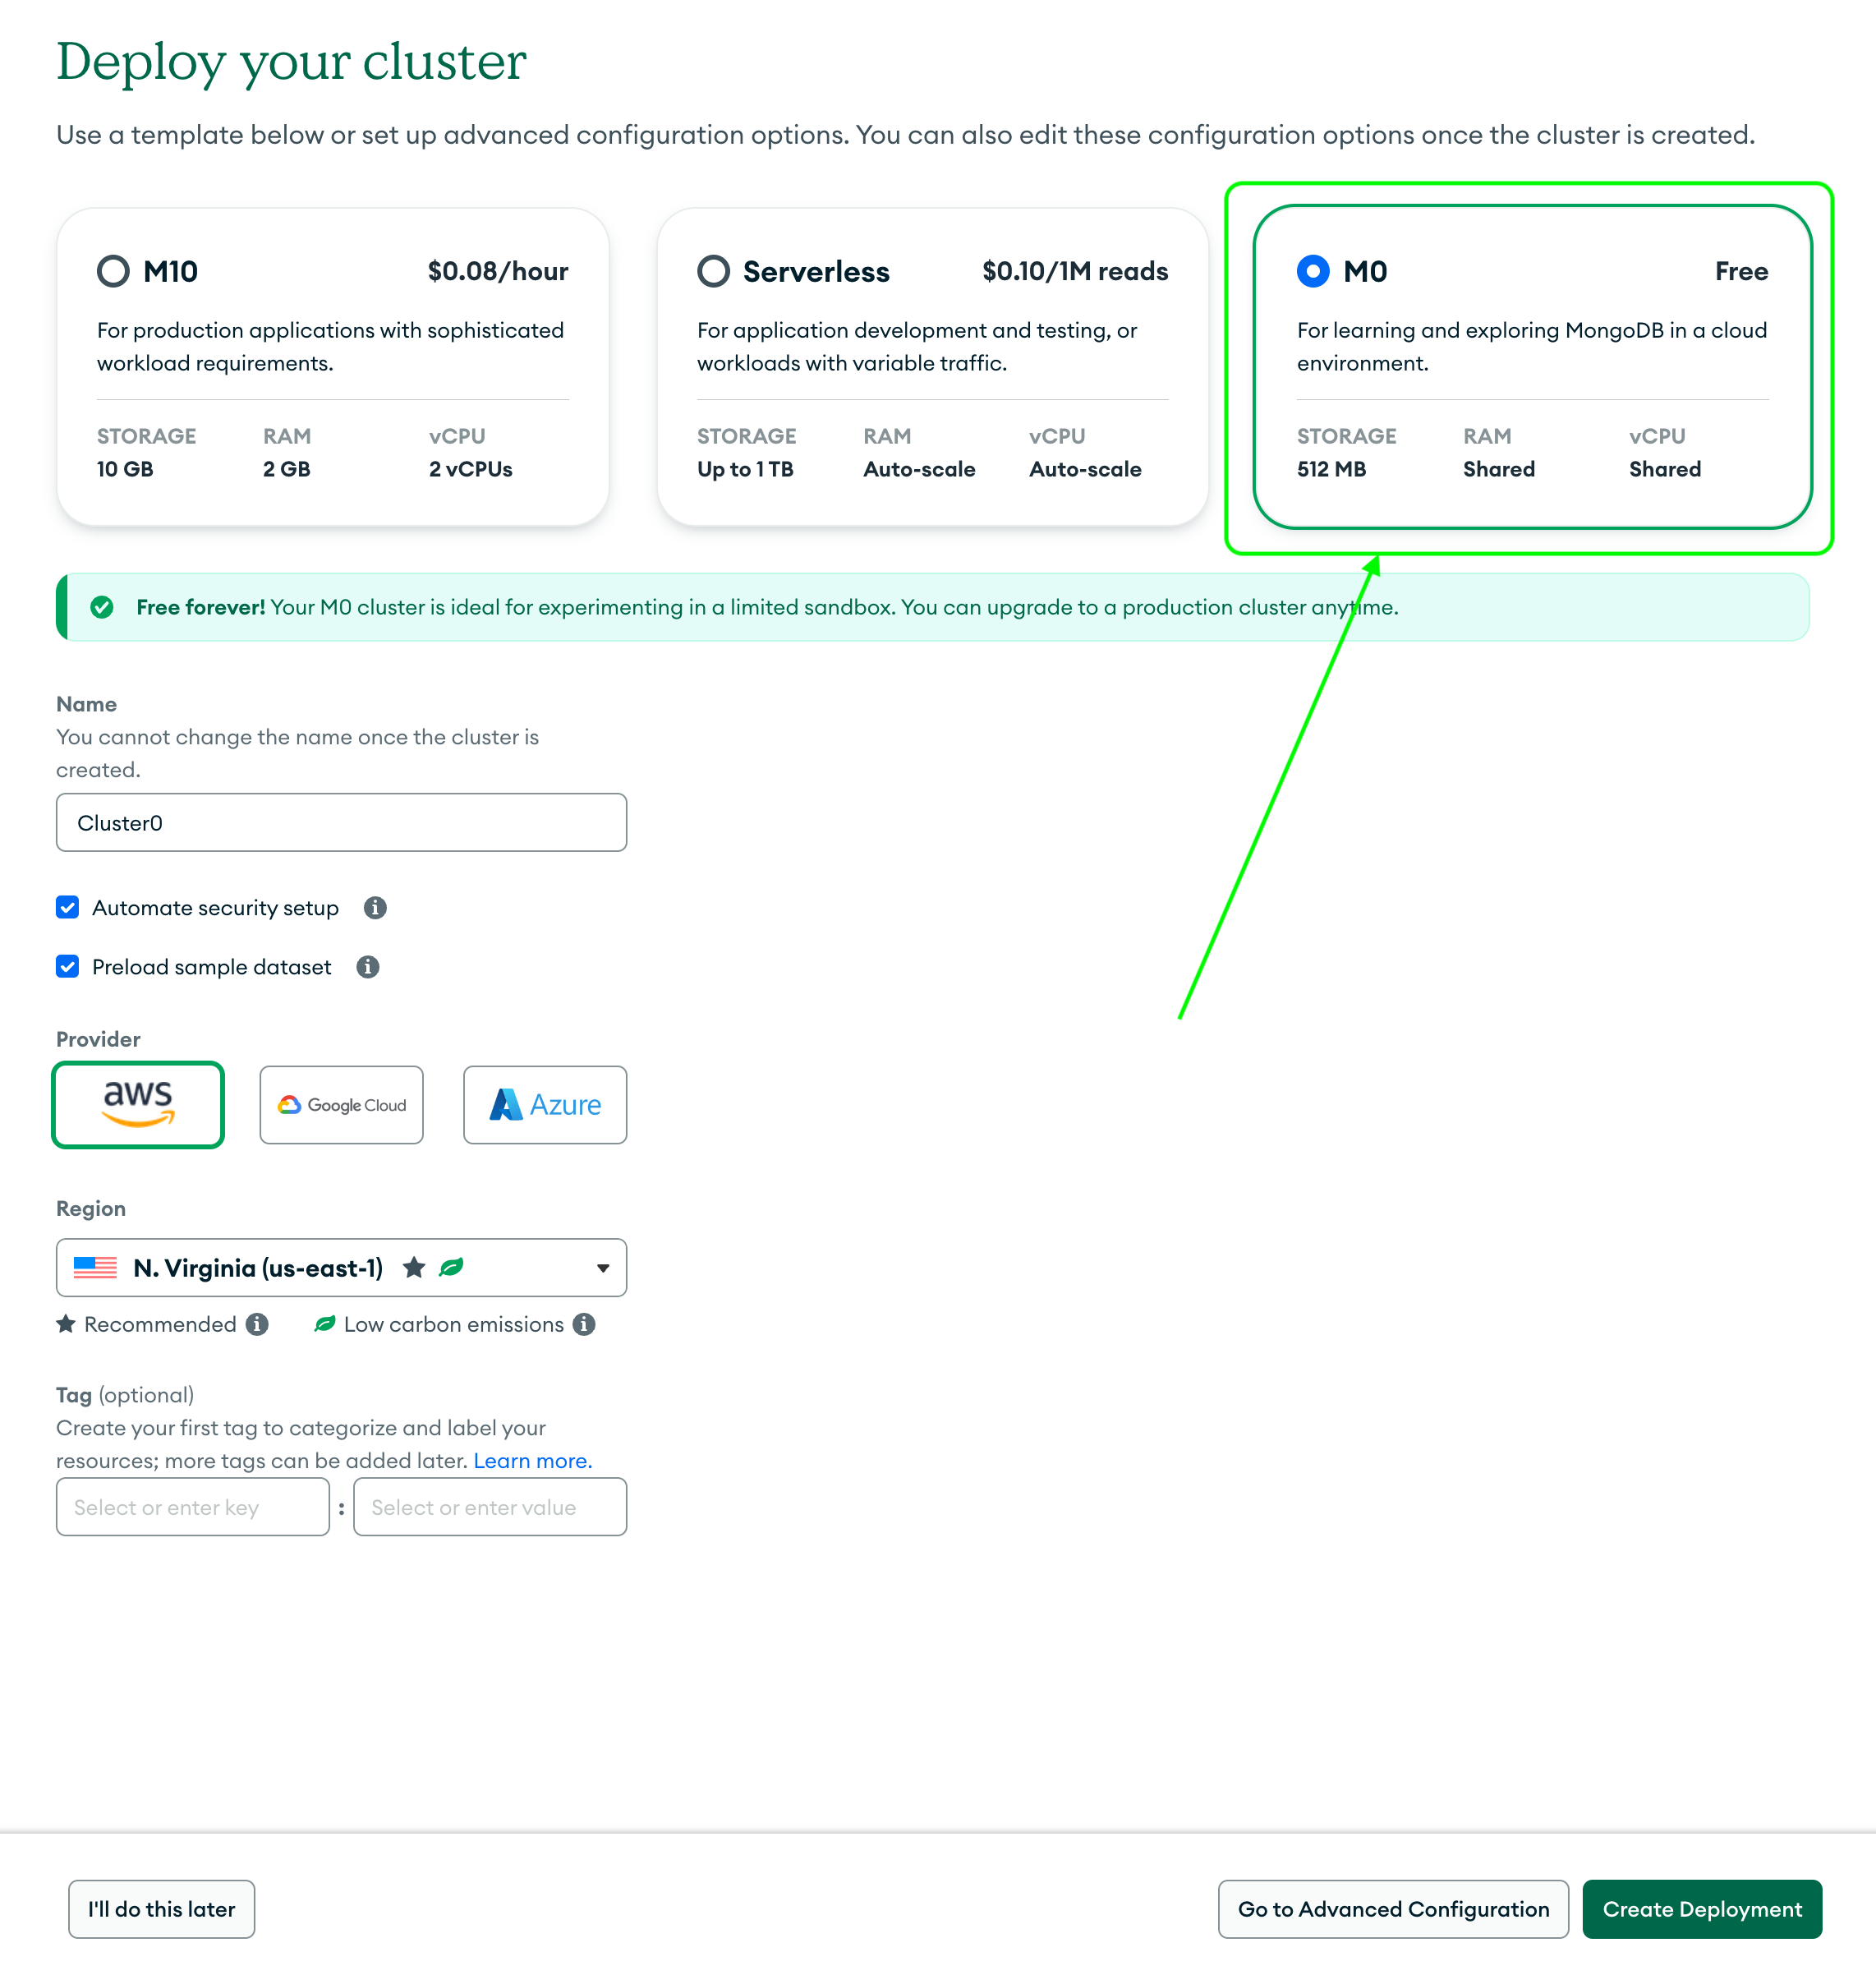
Name: Choose a new name for your cluster.
Automate security setup: Select this option to create a new IP access list entry for the current IP address.
Preload sample dataset: Select this option to use sample data that makes it easy for you to experiment with your new cluster.
Provider: Choose the provider you want to use. By default, the provider is set to AWS.
Region: Atlas will automatically select a recommended region for you. Note that you can choose a different region if you have a preference.
Tag: Leave this optional section blank.
Select Create Deployment to create your new cluster. Please wait for the cluster to be created.
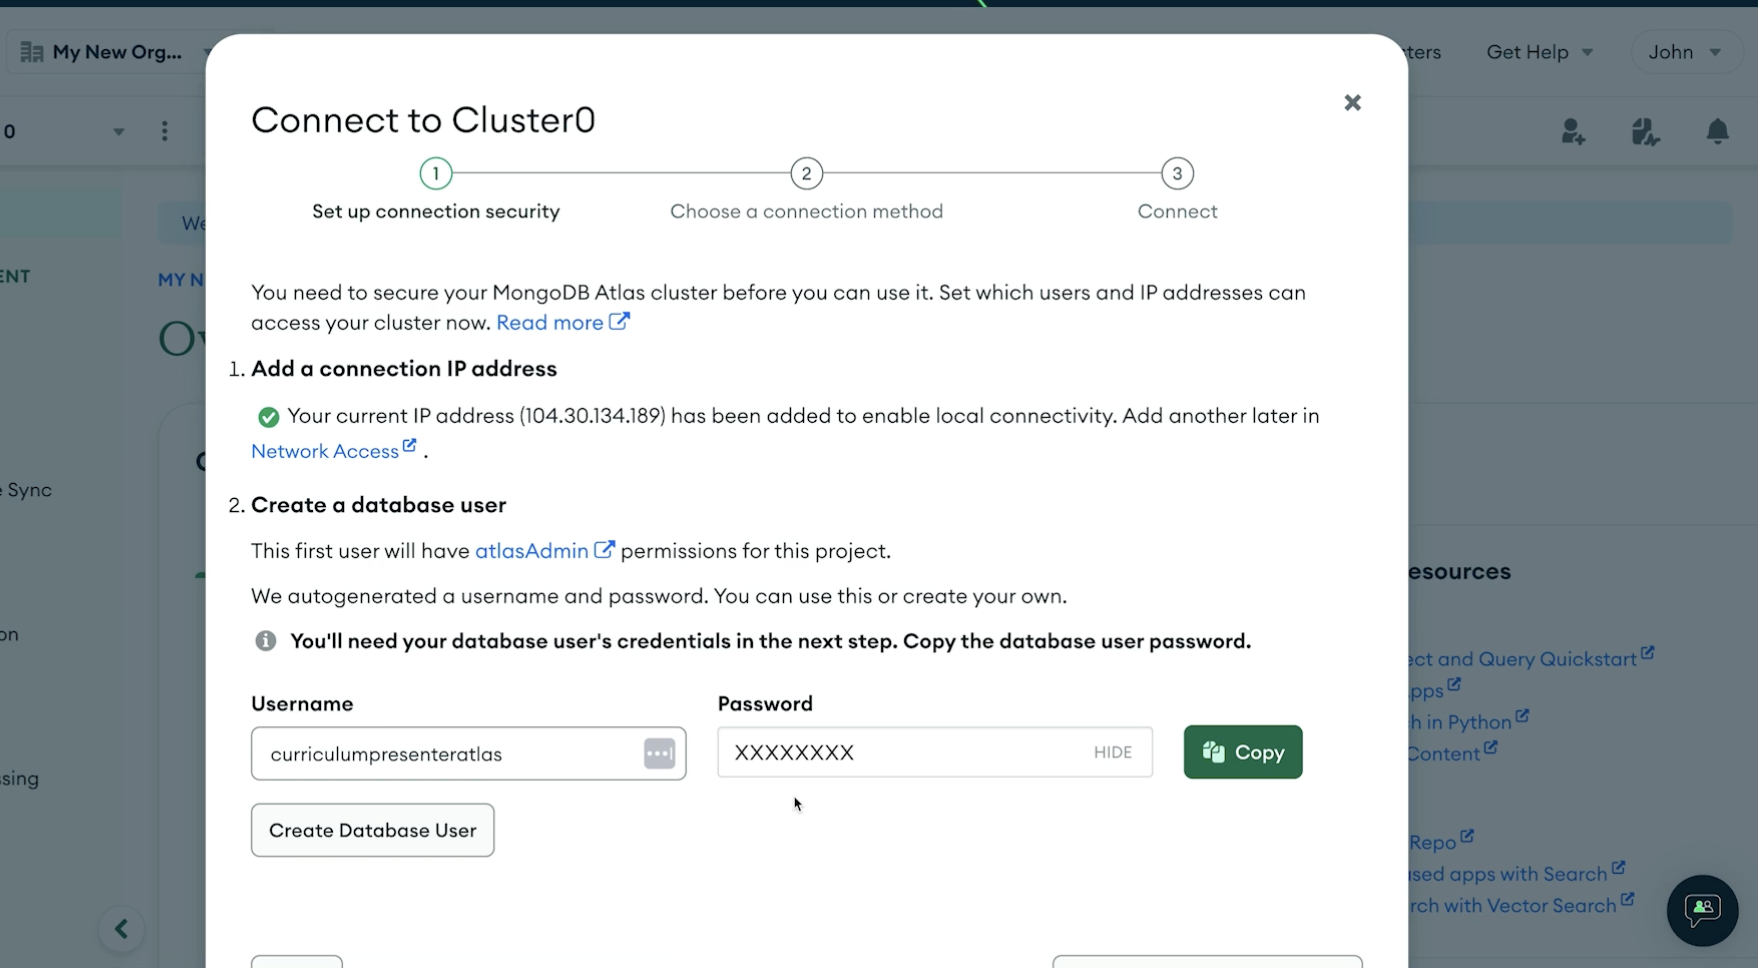
Once the cluster has been created, you will be asked to create a new database user. Enter your credentials, select Create Database User, and then select Close.
Congratulations! You have now created your Atlas account and deployed your first cluster! Don’t stop here, you’re just getting started. Explore some of the other courses on MongoDB University to learn more about what you can do in Atlas.
Awesome work deploying your first cluster!
- Self-Managed vs Fully-Managed: Fully-managed systems offer a blend of convenience and customization so you can focus on your priorities.
- MongoDB Atlas: The DBaaS that works on all major cloud providers and supports a rich, modern set of features.
- Keep Going: There are tons of features to explore in MongoDB Atlas and you can learn about them on MongoDB University!