
Lesson 2: Connecting to an Atlas Cluster in C# Applications / Learn
Install the MongoDB C# Driver
In this lesson, you will install the MongoDB C# driver by using the NuGet package manager.
To follow along with this lesson, open a new C# console app in Visual Studio 2022. If you're using a different IDE or if you’re using a text editor, the experience will be slightly different.
Install the Driver
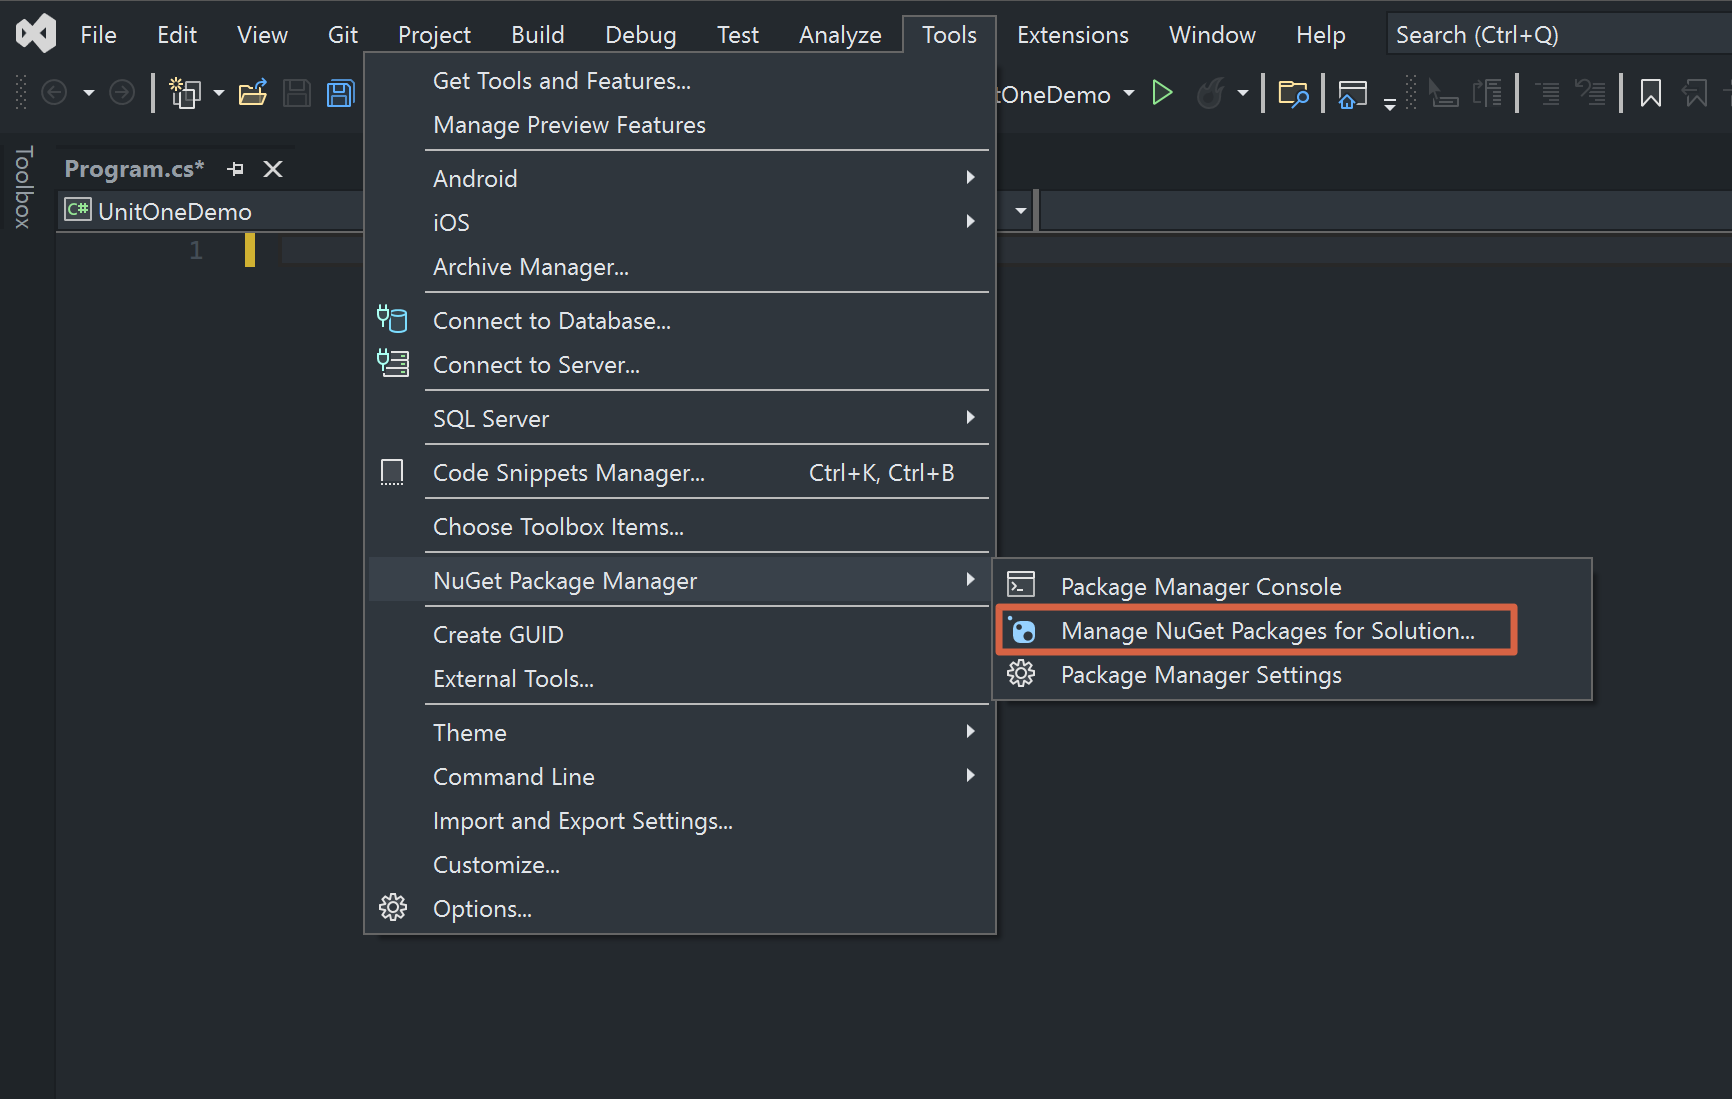
1. To locate the NuGet package manager, go to the Tools menu in Visual Studio.

2. From the drop-down menu, select "NuGet Package Manager."

3. Select "Manage NuGet Packages for Solution..."
4. Click the Browse tab and type "MongoDB.Driver" in the search bar to search for the MongoDB driver.
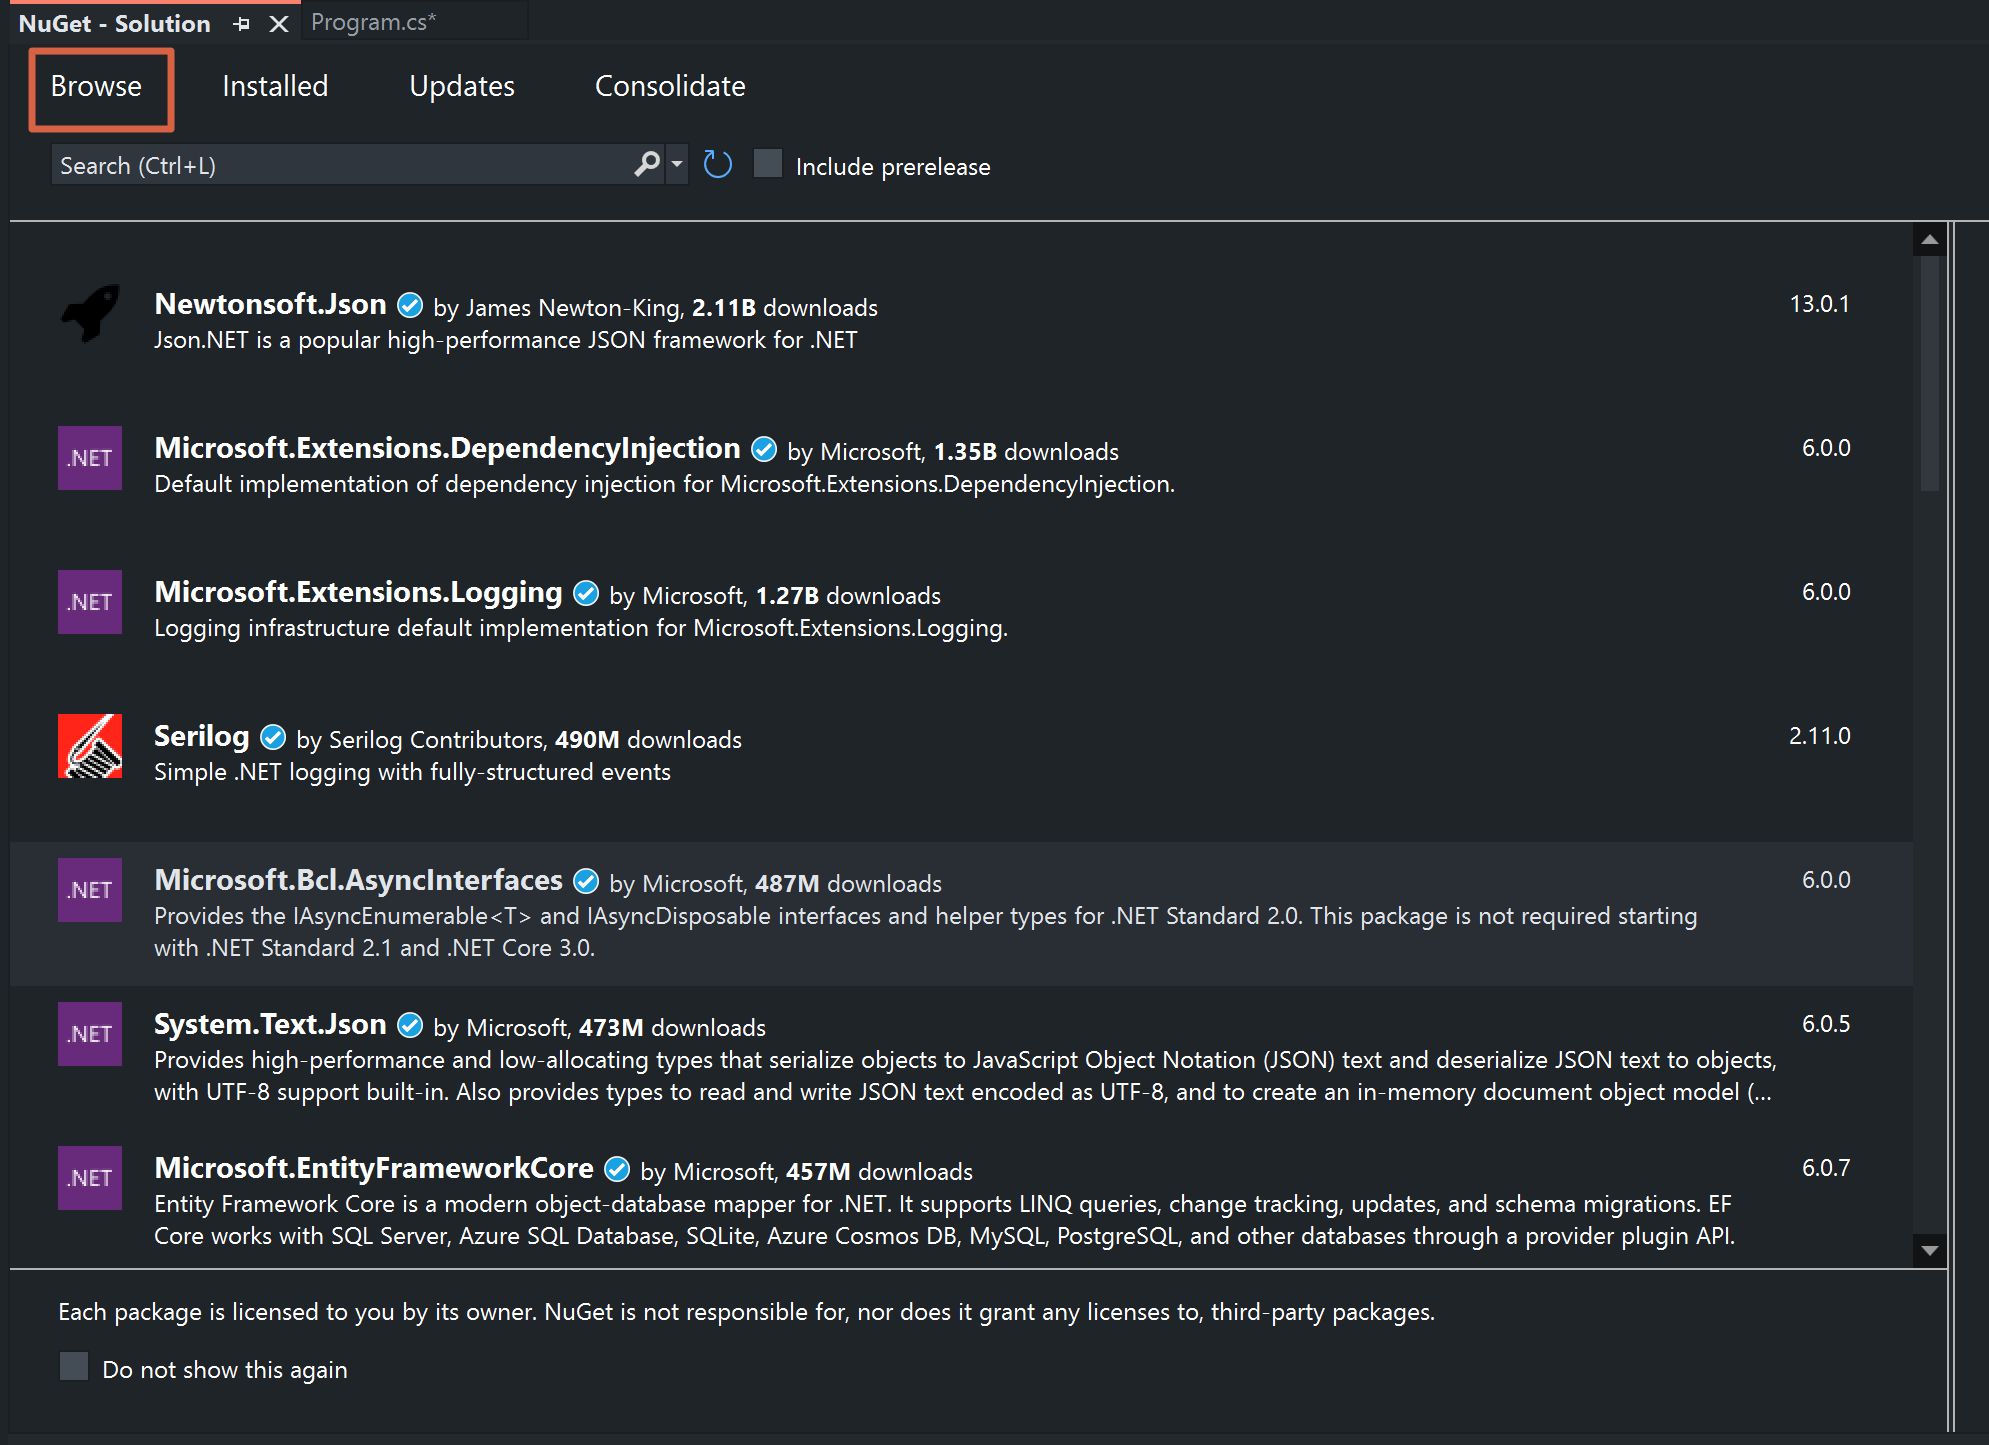
5. Click the package labeled "MongoDB.Driver" by MongoDB Inc.

6. Select the checkbox labeled Project.

7. Confirm that you are installing the latest stable version, and then click the Install button.
8. Complete the installation by clicking the "OK" and "I accept" buttons on the prompts.
Obtain Your MongoDB Connection String
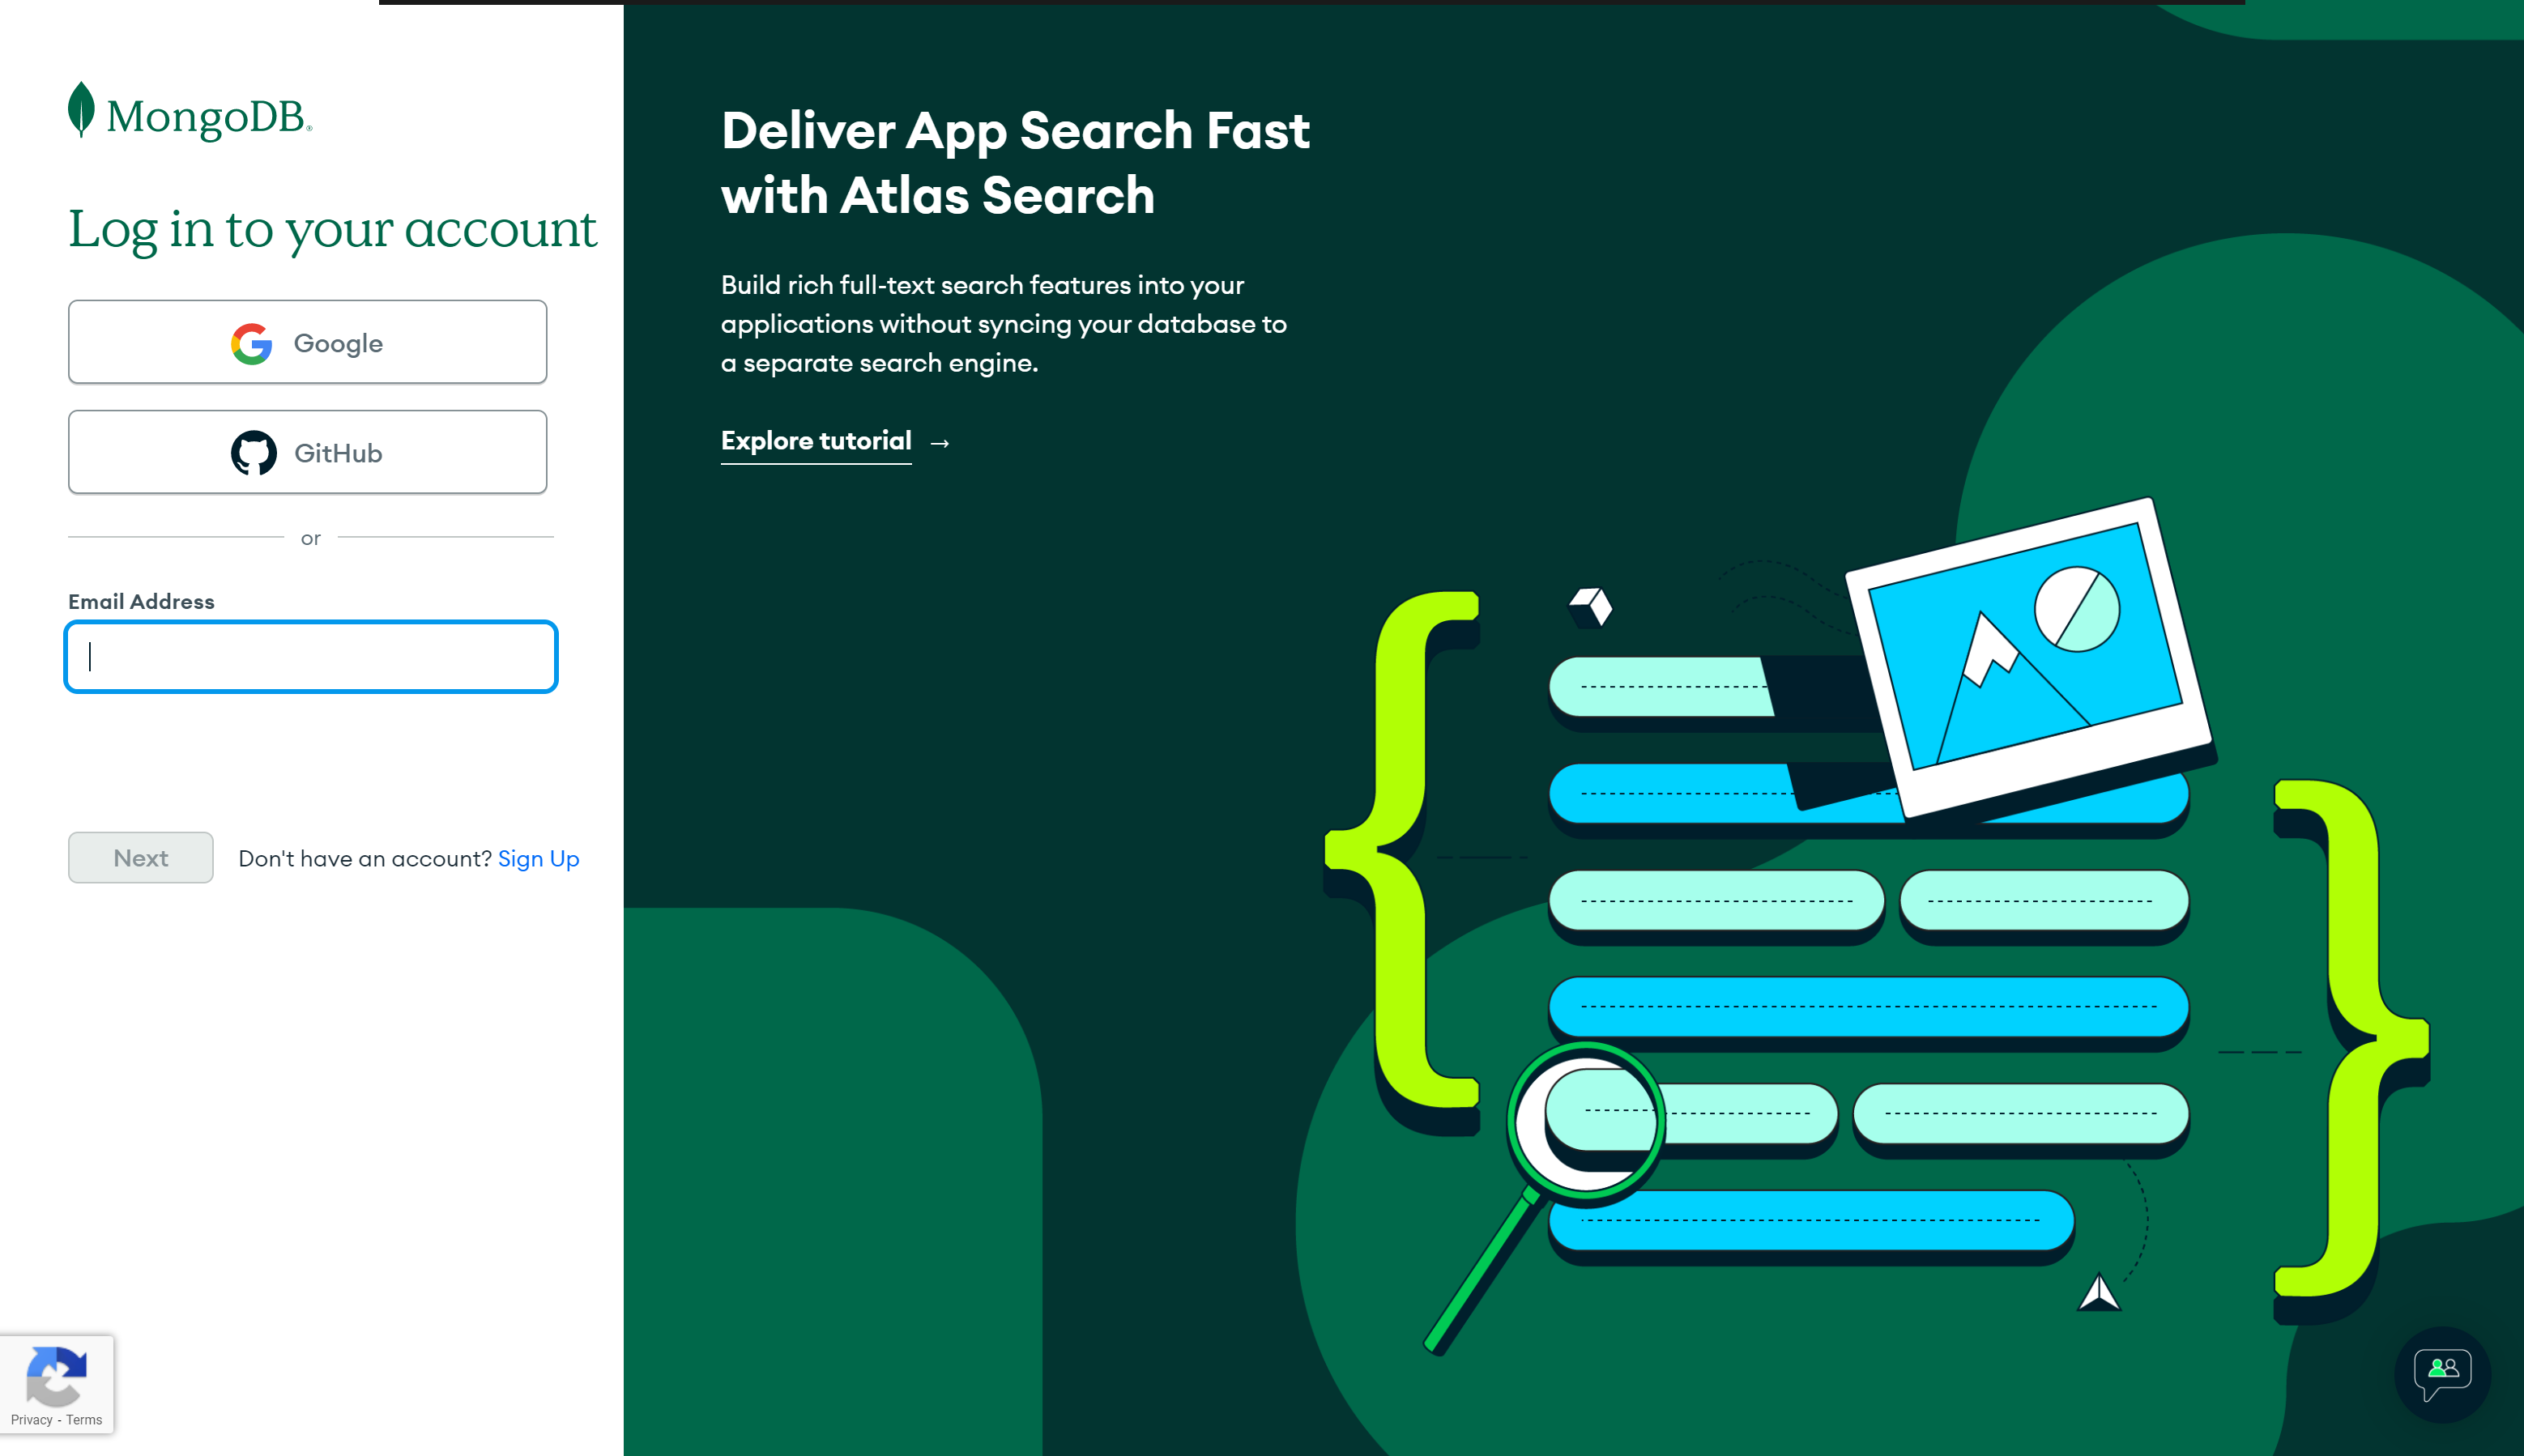
- Go to https://account.mongodb.com/account/login and log in to Atlas. The login page looks like the following:
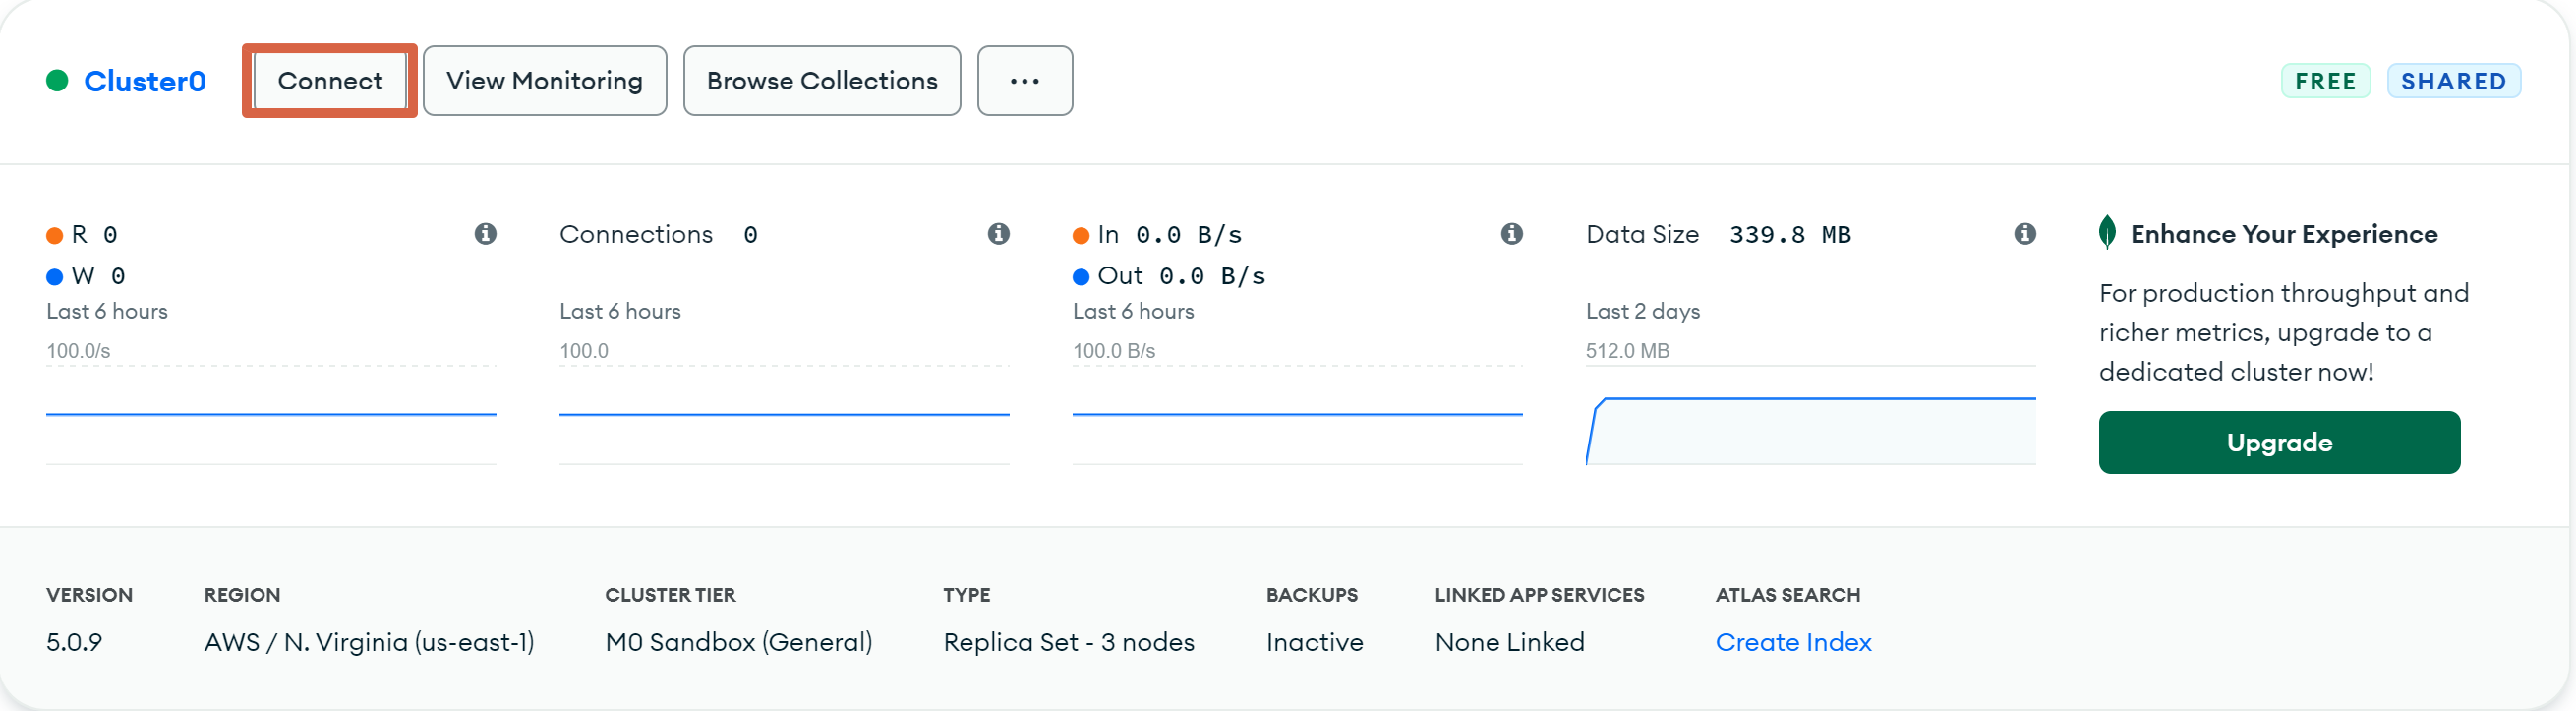
2. Once logged in, you will be taken to the Atlas dashboard for your current project. Click the Connect button.
3. This window displays your connection options. Click the "Connect your application" button.

4. This window contains the instructions for connecting your application. Click the copy icon to copy the connection string.

Now you can use your connection string to connect to your Atlas cluster!
Connect to Your Atlas Cluster
Use your MongoDB connection string along with the MongoClient to establish a connection with your Atlas cluster:
using MongoDB.Driver;

var mongoURL = new MongoUrl("<your connection string>");
var client = new MongoClient(mongoURL);

var dbList = client.ListDatabases().ToList();

Console.WriteLine("The list of databases on this server is: ");
foreach (var db in dbList)
{
    Console.WriteLine(db);
}